
For my university course, I had to create a folder structure in order to keep my work organised properly. To make a folder, simply right-click an empty space on the screen and choose ‘New > Folder’, or for an even simpler way, choose the ‘New Folder’ at the top of your document window (may be in different places depending on which version of Windows you have – I have Windows 10). Below I’ll be explaining step-by-step how I made my folder structure!
Step one
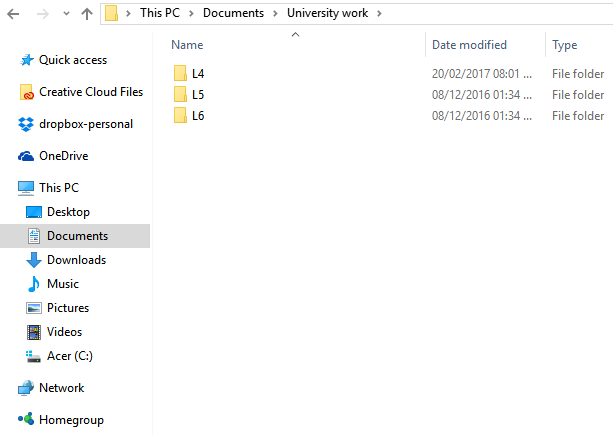
Firstly, I started off by creating a general folder structure for the whole of my university course. Below is a screenshot of my folder structure for all three levels of my course inside my ‘University work‘ folder.
Step two
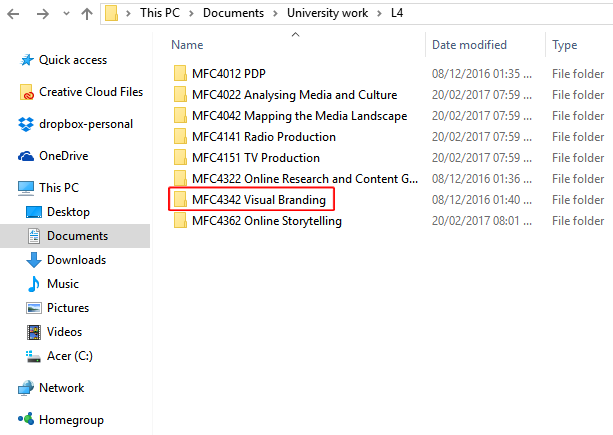
Because I am studying at Level 4 currently (first year of university), I created my sub-folders inside the L4 folder. The subfolders I created are all modules that I am studying at university. For this tutorial, I will be showing my ‘MFC4342 Visual Branding‘ folder (highlighted) because it is the folder that contains the most work.
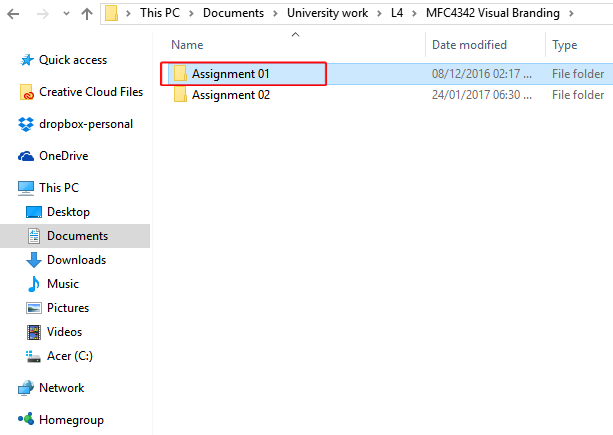
Inside this folder, I have two more folders labelled ‘Assignment 01‘ and ‘Assignment 02‘ which are specifically labelled for the two assignments that I have to complete in my first year of university. For the next step, we’ll be opening up the ‘Assignment 01‘ folder.
Step three
After opening the specific assignment folder, I created individual folders for the programmes that I would be using throughout the year. Doing this made sure that my work was organised, and this helped me when I was trying to find the file when doing work so I could open the specific folder instead of searching through hundreds of files aimlessly.

Below I’ve put a few more photos – these are extra screenshots of some of my folders with work inside them to show how they are also arranged into smaller subfolders (click to enlarge!)


Nicole Austin, Leeds Trinity University
Contact me here!
Find me on Twitter here!
How do you arrange your folders? Leave a comment!

Pingback: Making-Of series: Levels & Colour Adjustments. | N. AUSTIN MEDIA